
1. Time to write a book! My first step was to dig through all my scraps and notes and sketches and Asian craft doodads I had collected for years to form a rough craft project list.
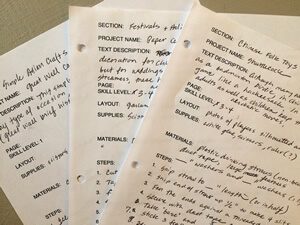
2. Once I winnowed down the craft project list, the vision for the book started to take shape. I also thought about the thematic sections in the book, the general China content, the templates, and determined the difficulty level for each project.
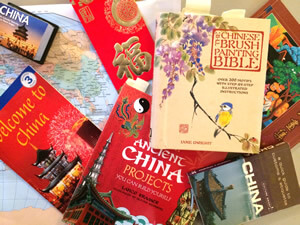
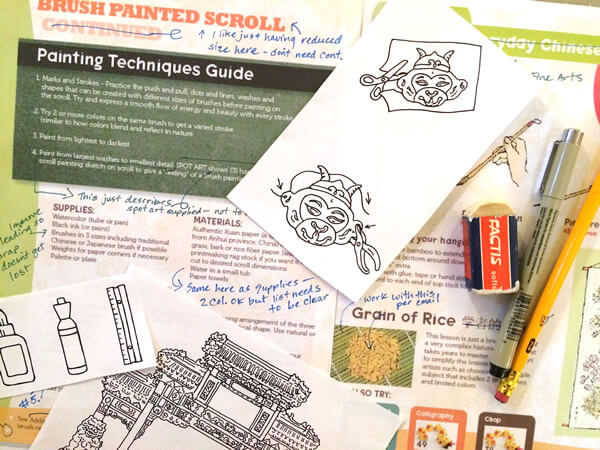
3. When my project list was pretty set, months of intense writing began. I also did a huge amount of research on the historical traditions of each project and any additional factoids I wanted to include.
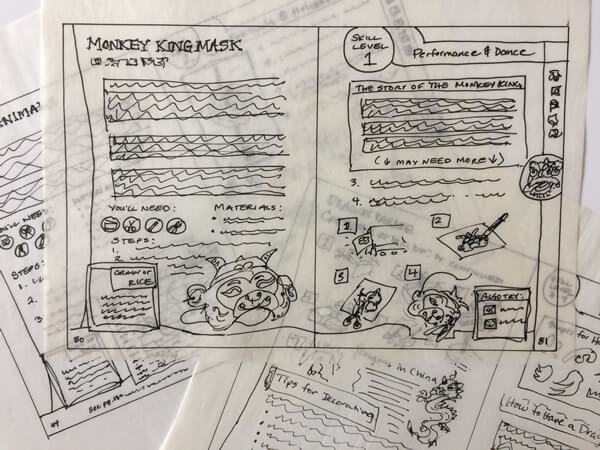
4. Next, I sketched zillions of layouts for both starting to get the book design to emerge, and how the content would be arranged on the pages.
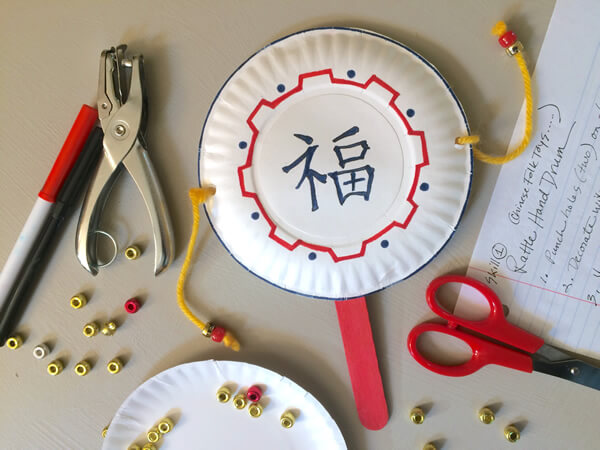
5. At the same time, I started experimenting with project prototypes off my “shortlist”. I took good notes on the specific crafting steps since they would be the rough draft for the book instruction and materials sections.
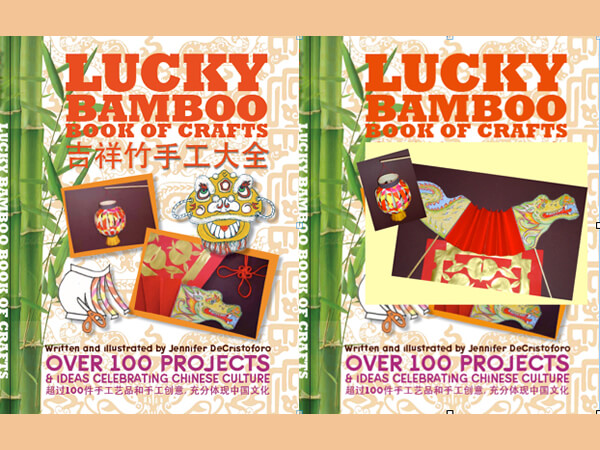
6. The design started to come together as I went through many layout versions. My hodgepodge of content took a lot of fiddling. I also started designing the book’s front and back cover. With the belief that sometimes you CAN judge a book by its cover, I wanted it perfect.

7. At this point, I brought in Frank, Emma, and Yuyang, all wonderful and talented people, to help with tightening up the design details, setting up the electronic page files, and reviewing the Chinese translations and cultural content for accuracy.
8. I started illustrating the spot art for the project steps, as well as deciding on other areas in the book that could use some art. At the same time, I scoured every page for errors and edits and my friend Wendy was a big help. I stuck the final draft under every nose I could find.
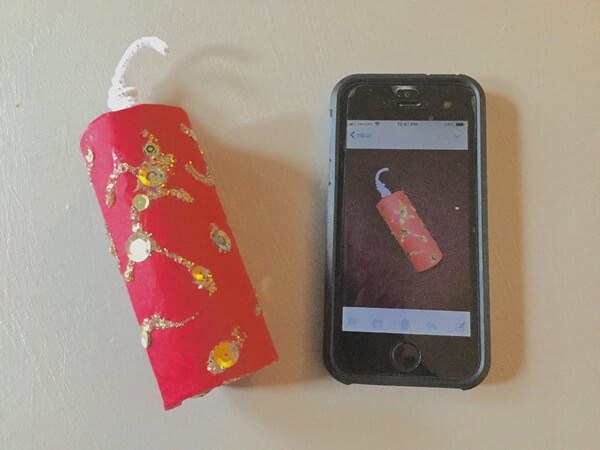
9. As I made the final prototype crafts I edited my instructional steps carefully. I also started taking image shots of them on my phone. (If I had it to do over again, I’d use a better camera and a better photographer!)
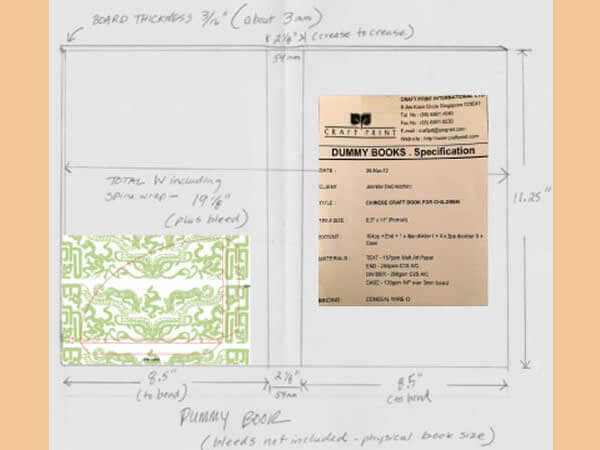
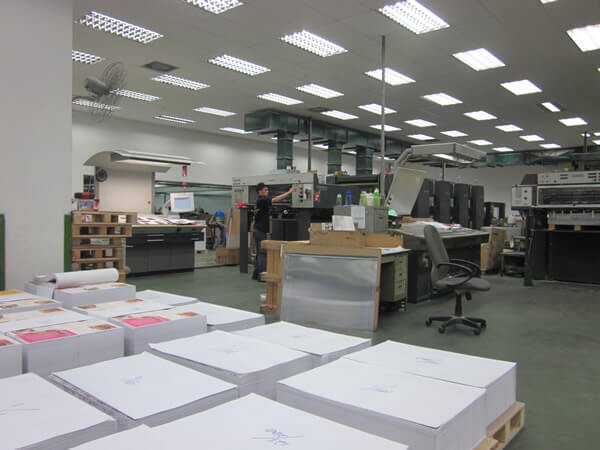
10. Now it was time to firm up the printing and bindery specifications and schedule. I worked with a top-notch commercial printer in Singapore since I had ambitious ideas for customizing the book with storage pockets and a tough-covered spine.
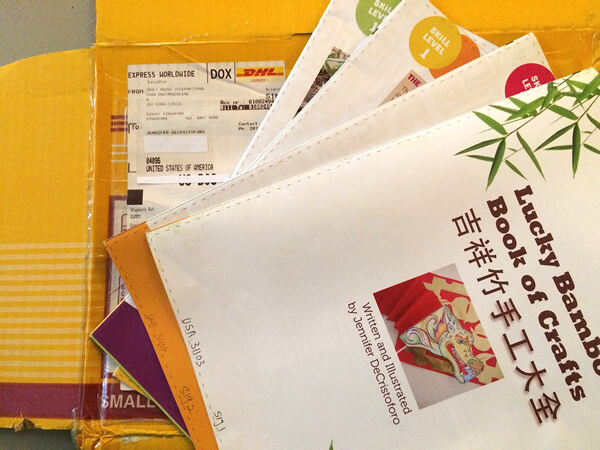
11. After several more months of design, production, and planning I sent all the graphic files electronically to the printer. Hitting that “send” key was pretty heart-stopping! They prepared some sample pages for me to review the color, quality, and trim and sent them express delivery. That was an exciting day!
12. Then the printer completed the full run of books, did the bindery, and soon after that, the pre-shipment books arrived. Next, the container ship from Singapore was scheduled and I handled the paperwork and coordinated the arrival to the US port, and delivery to my local warehouse. What an exciting and wonderful publishing journey!